

Unlock Smooth Skin at Home: A Step-by-Step Guide to Dermaplaning
Achieving smooth, radiant skin doesn't necessarily require a visit to a skincare professional. Dermaplaning, a popular exfoliation technique, can be done in the comfort of your own home. By following proper guidelines and techniques, you can enjoy the benefits of smoother, more youthful-looking skin. In this blog post, we will provide you with a comprehensive step-by-step guide to safely and effectively perform dermaplaning at home.
What is Dermaplaning?

Dermaplaning is a non-invasive procedure that involves gently scraping the skin's surface using a dermaplaning razor to remove dead skin cells and peach fuzz. The process not only promotes a smoother complexion but also enhances product absorption and helps achieve a healthy, radiant glow.
Benefits of Dermaplaning for Smooth Skin:
-
Exfoliation: Dermaplaning removes the top layer of dead skin cells, unveiling fresh and smooth skin underneath. This exfoliation promotes a more refined texture and even skin tone.
-
Hair Removal: Dermaplaning effectively eliminates fine facial hair, also known as peach fuzz. By removing this hair, your skin will appear smoother and your makeup application will be flawless.
-
Product Penetration: With dead skin cells and facial hair removed, skincare products can penetrate the skin more effectively. This maximizes their benefits, allowing you to achieve optimal results from your skincare routine.
-
Radiant Complexion: Dermaplaning stimulates collagen production and promotes cellular turnover, leading to a youthful and radiant complexion. It can reduce the appearance of fine lines, wrinkles, and hyperpigmentation, resulting in smoother and more vibrant skin.
Preparation for At-Home Dermaplaning:
Before embarking on your at-home dermaplaning journey, it is important to prepare your skin properly. Follow these steps to ensure a safe and successful dermaplaning session:
-
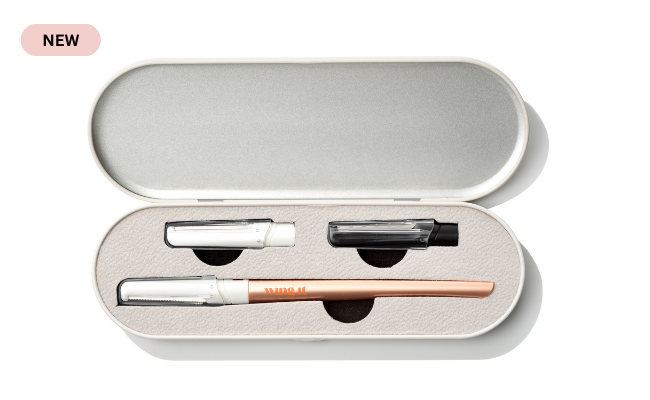
Gather the Right Tools: Invest in a high-quality dermaplaning tool specifically designed for home use. These tools usually come with blades in different sizes and a comfortable grip for easy maneuverability.
-
Cleanse Your Skin: Begin by thoroughly cleansing your face with a gentle cleanser to remove any dirt, oil, or makeup. This step ensures a clean and prepped surface for the dermaplaning process.
-
Skin Dryness: Ensure your skin is completely dry before starting the dermaplaning process. Moisture can interfere with the tool's effectiveness and may cause discomfort or skin irritation. If your skin is sensitive, opt in for oilplaning - applying a little bit of facial oil on the face ahead of the treatment.
-
Cleanse the Dermaplaning Tool: Before every use, sanitize the dermaplaning tool by washing it with warm soapy water and then disinfecting it with rubbing alcohol. This maintains hygiene and reduces the risk of infection.
The At-Home Dermaplaning Process

Now that you are well-prepared, let's dive into the step-by-step process of dermaplaning at home:
-
Begin with a Gentle Grip: Hold the dermaplaning tool at a slight angle (approximately 45 degrees) and lightly grasp it with your dominant hand. Ensure a gentle grip to avoid excessive pressure on the skin.
-
Stretch the Skin: Using your free hand, gently stretch the skin taut in the area you wish to dermaplane. This ensures a smoother surface for the tool to glide over and minimizes the risk of nicks or cuts.
-
Start with Short Strokes: With the tool in your dominant hand and the skin stretched, start dermaplaning using short and controlled strokes. Begin at the cheek area, moving upward towards the forehead, and then down to the chin and jawline. Avoid sensitive areas such as the eyes, eyebrows, and lips.
-
Maintain Light Pressure: Apply light pressure while dermaplaning to prevent any skin irritation or injury. The goal is to remove the dead skin cells and hair, not to scrape or cut deeply into the skin.
-
Repeat the Process: Continue dermaplaning in small sections, using gentle strokes and maintaining even pressure. Rinse the blade occasionally to remove buildup and ensure optimal effectiveness.
-
Post-Dermaplaning Care: After you have completed dermaplaning, it is crucial to follow up with proper post-care to soothe the skin and maintain its smoothness.
-
Rinse Your Face: Gently rinse your face with lukewarm water to remove any remaining dead skin cells or debris.
-
Apply a Calming Toner: Use a gentle toner to help soothe the skin and restore its pH balance.
-
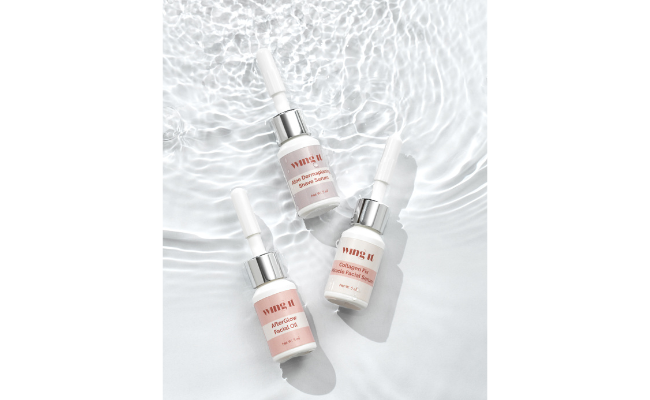
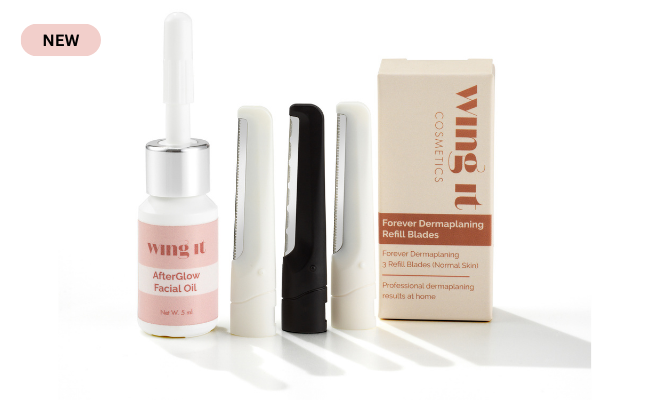
Hydrate and Protect: Apply a nourishing facial oil to lock in hydration and support the healing process. Finish with a broad-spectrum sunscreen to protect your newly revealed skin from UV damage if you're going outside.
-
Clean and Store the Tool: Thoroughly clean the dermaplaning tool with warm soapy water and disinfect it with rubbing alcohol. Store it in a clean, dry place for future use.
-
Safety Precautions
While dermaplaning at home can be a safe and effective skincare technique, it is essential to keep the following precautions in mind:
-
Avoid Active Acne or Skin Conditions: If you have active acne, open wounds, or any skin conditions, it is best to avoid dermaplaning until your skin has healed. Consult with a dermatologist for personalized advice.
-
Be Gentle: Always maintain a gentle touch and light pressure while dermaplaning. Excessive pressure can lead to skin irritation, redness, or injury.
-
Avoid Multiple Passes: Refrain from going over the same area repeatedly during a single dermaplaning session. This helps minimize the risk of skin sensitivity and damage.
-
Don't Share Tools: It is crucial to use your own personal dermaplaning tool and avoid sharing it with others to prevent the spread of bacteria or infections.
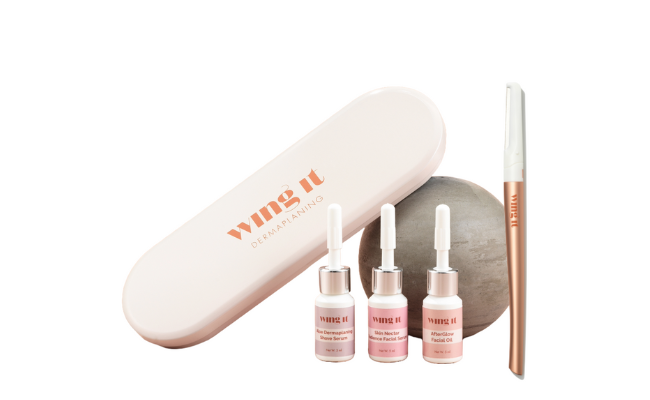
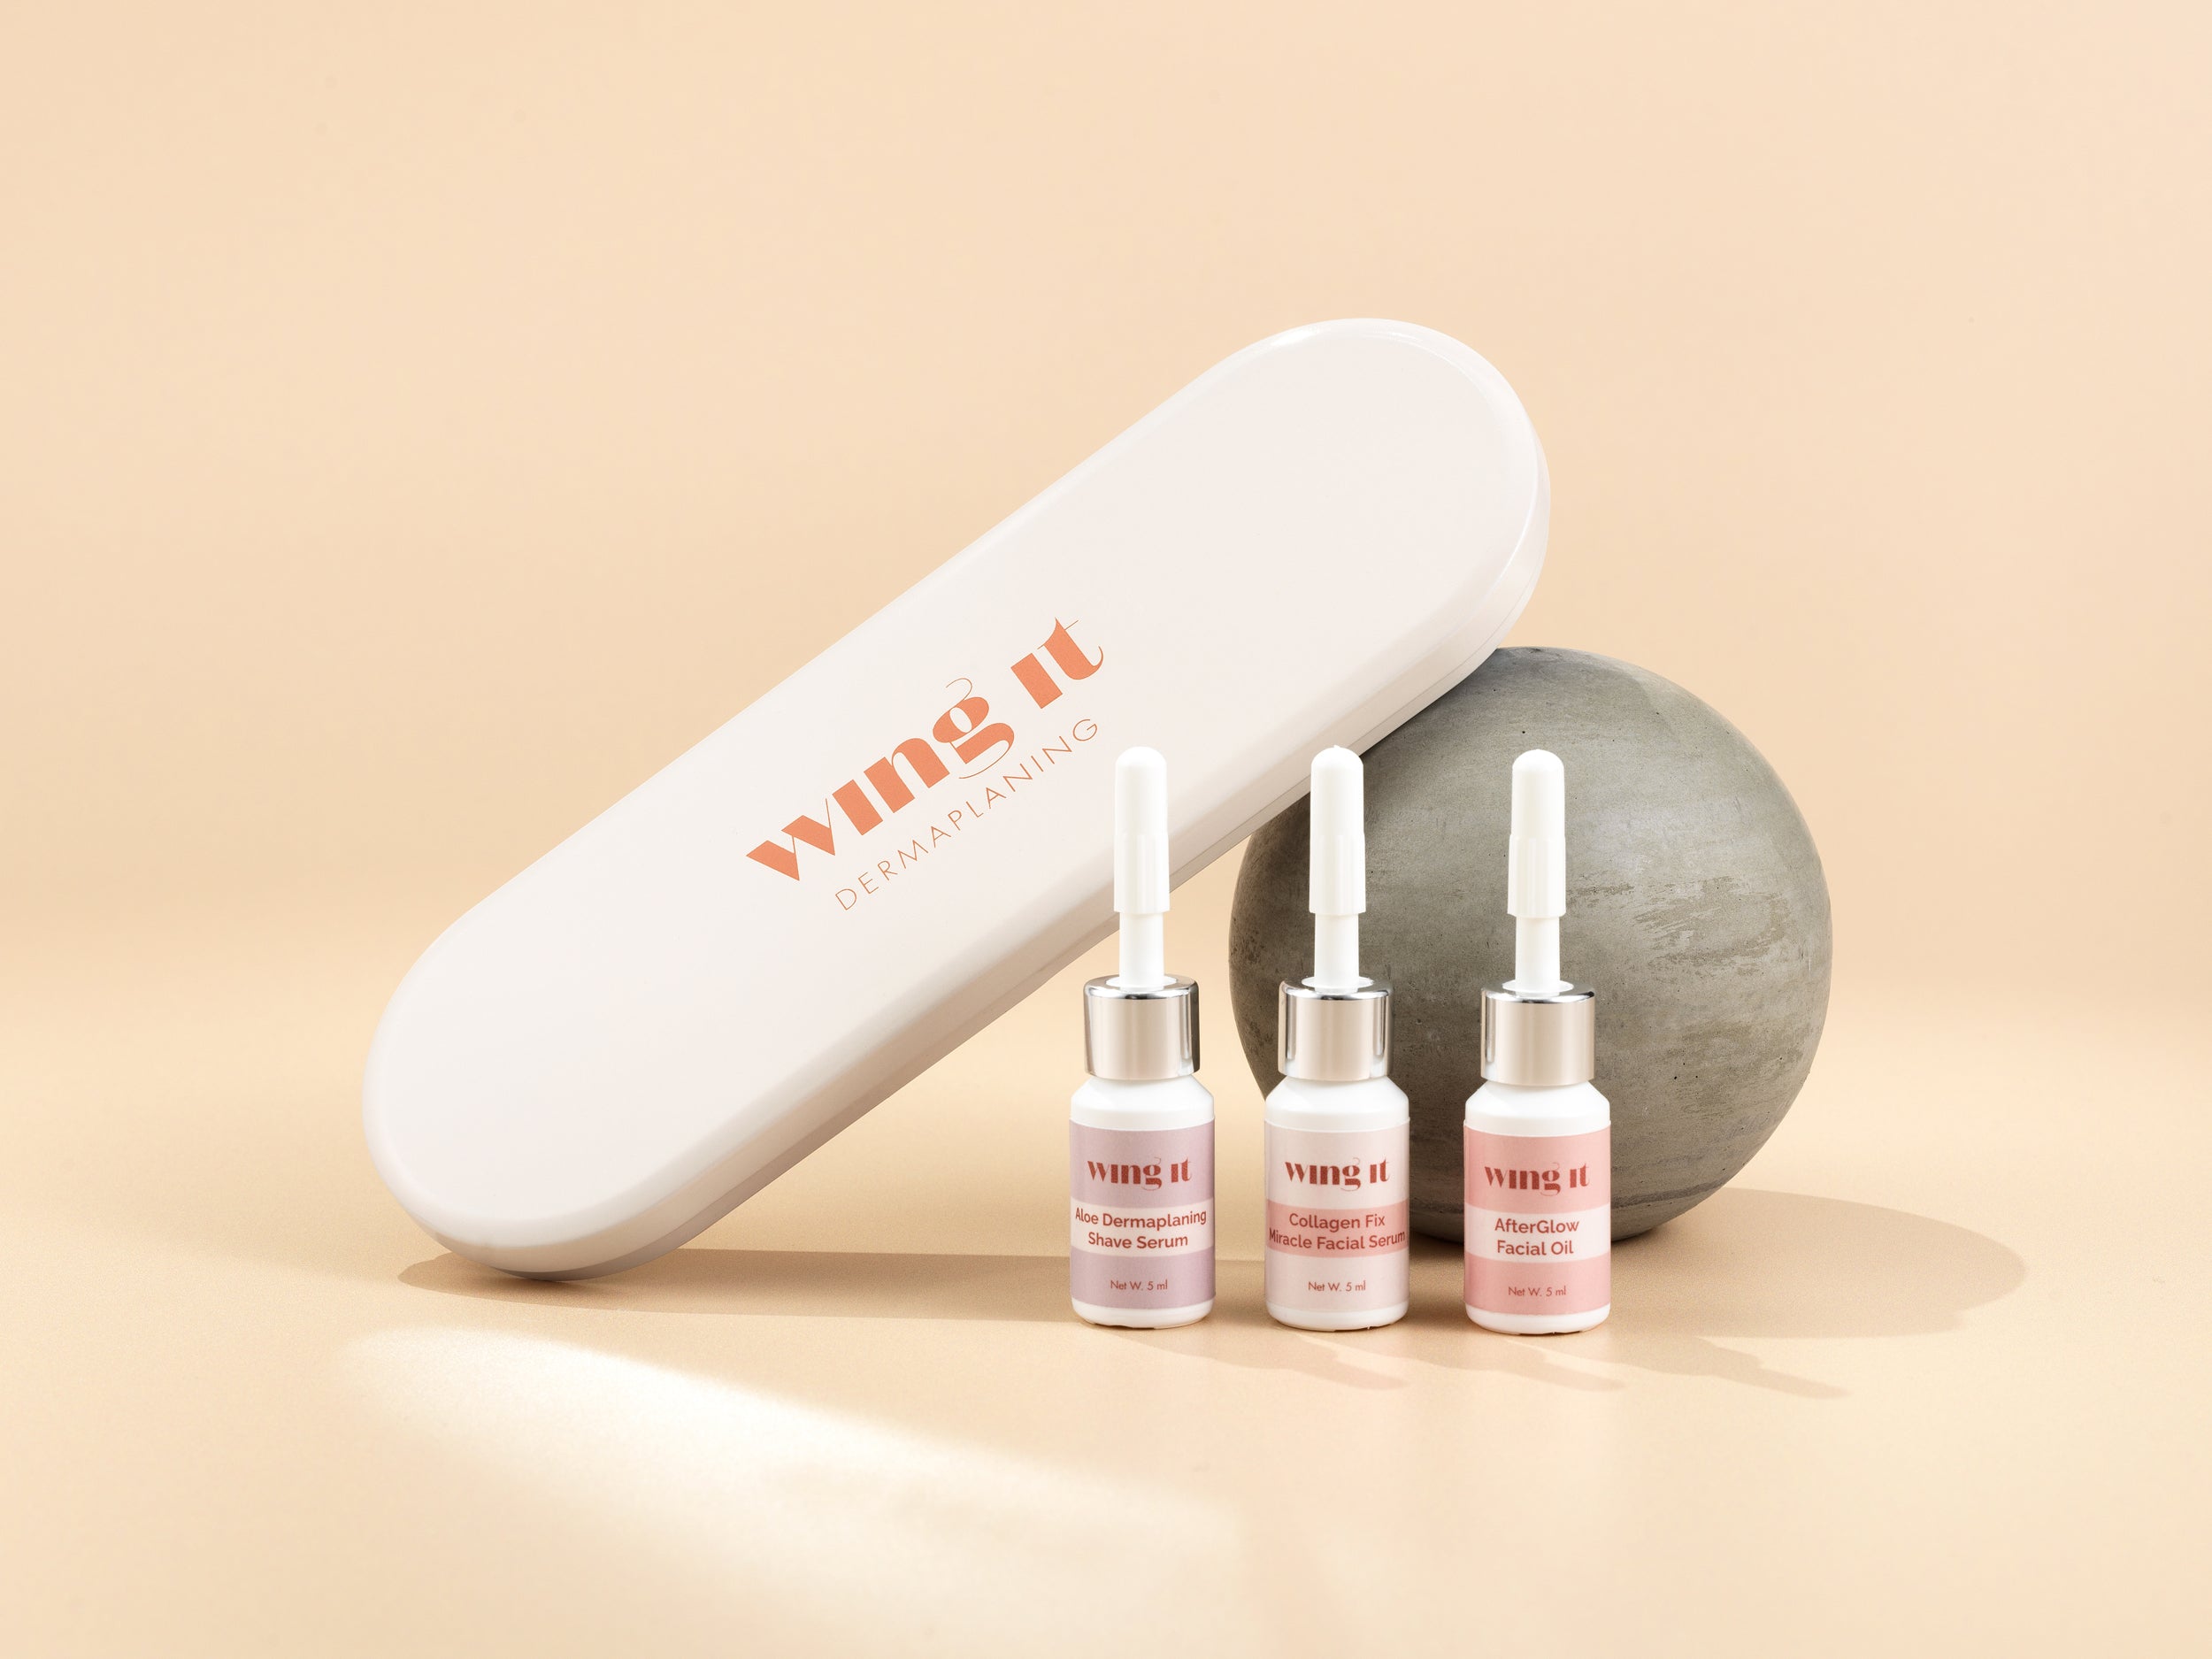
The Wing It Cosmetics Dermaplaning Kit is a game-changer when it comes to achieving smooth and flawless skin. This all-inclusive kit provides everything you need to perform dermaplaning at home with confidence. The high-quality dermaplaning tools ensures precise exfoliation and hair removal. The addition of a squalane oil ensures you can maintain skin hydration follwing the treatment. With the Wing It Cosmetics Dermaplaning Kit, you can enjoy the benefits of professional-grade dermaplaning in the comfort of your own home, revealing a radiant and rejuvenated complexion.

Dermaplaning at home provides a convenient and effective way to achieve smoother and more radiant skin. By following the step-by-step guidelines outlined in this blog post, you can safely and successfully perform dermaplaning in the comfort of your own home. Remember to prioritize skin preparation, maintain proper technique, and follow post-dermaplaning care to enjoy the benefits of a rejuvenated and smooth complexion. Embrace the journey towards velvety skin and revel in the confidence that comes with it!

Leave a comment
This site is protected by hCaptcha and the hCaptcha Privacy Policy and Terms of Service apply.