
What is at home dermaplaning and how to do it?
Dermaplaning has become a popular skincare treatment in recent years, and for a very good reason. This non-invasive exfoliation technique involves using a surgical scalpel to remove the top layer of dead skin cells and fine facial hair from the surface of the skin. While dermaplaning is typically performed by a licensed esthetician or dermatologist, it is also possible to perform at home with the right tools and techniques. In this blog post, we will explore everything you need to know about at-home dermaplaning, including the benefits, the tools and techniques, and what to expect during and after the treatment.

Benefits of At-Home Dermaplaning
Performing dermaplaning at home can have several benefits for the skin, including:
-
Smoother, softer skin: By removing the top layer of dead skin cells and fine facial hair, at-home dermaplaning can help to make the skin feel smoother and softer.
-
Improved product absorption: By removing the layer of dead skin cells, at-home dermaplaning allows for better absorption of skincare products, such as serums and moisturizers.
-
Brighter complexion: At-home dermaplaning can help to improve the appearance of dull, tired-looking skin by removing the layer of dead skin cells that can make the skin appear lackluster.
-
Reduced appearance of fine lines and wrinkles: At-home dermaplaning can help to reduce the appearance of fine lines and wrinkles by removing the layer of dead skin cells that can settle into fine lines and make them more noticeable.
-
Minimized appearance of acne scars: At-home dermaplaning can help to minimize the appearance of acne scars by removing the top layer of dead skin cells that can make scars appear more pronounced.
Tools and Techniques for At-Home Dermaplaning
Performing dermaplaning at home requires the right tools and techniques. Here are the steps to follow for at-home dermaplaning:
-
Start with clean, dry skin: Before beginning the treatment, it is important to start with clean, dry skin. This will help to ensure that the surgical scalpel can glide smoothly over the skin and there is no spreading of bacteria.
-
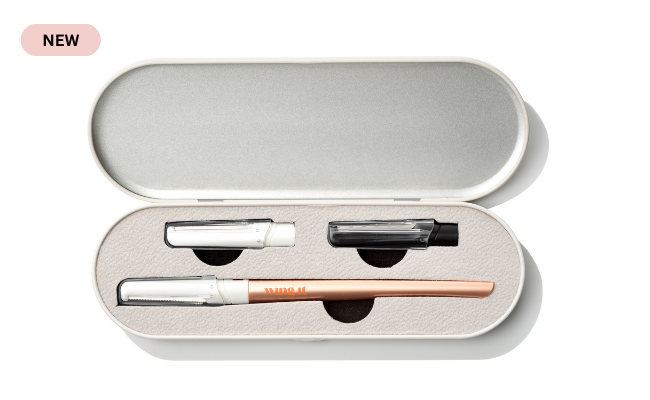
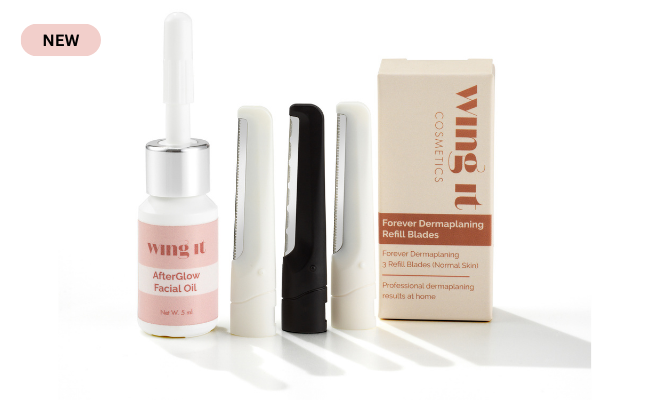
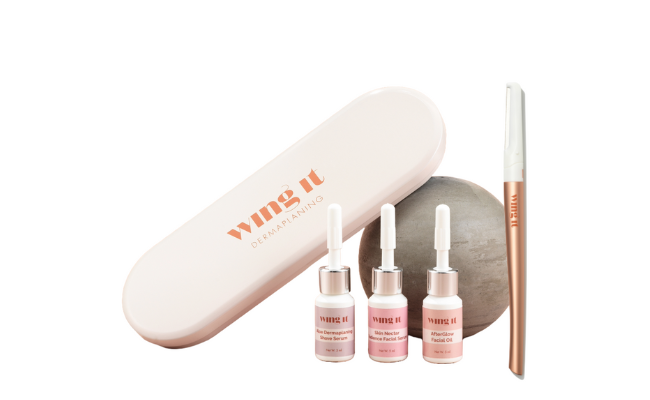
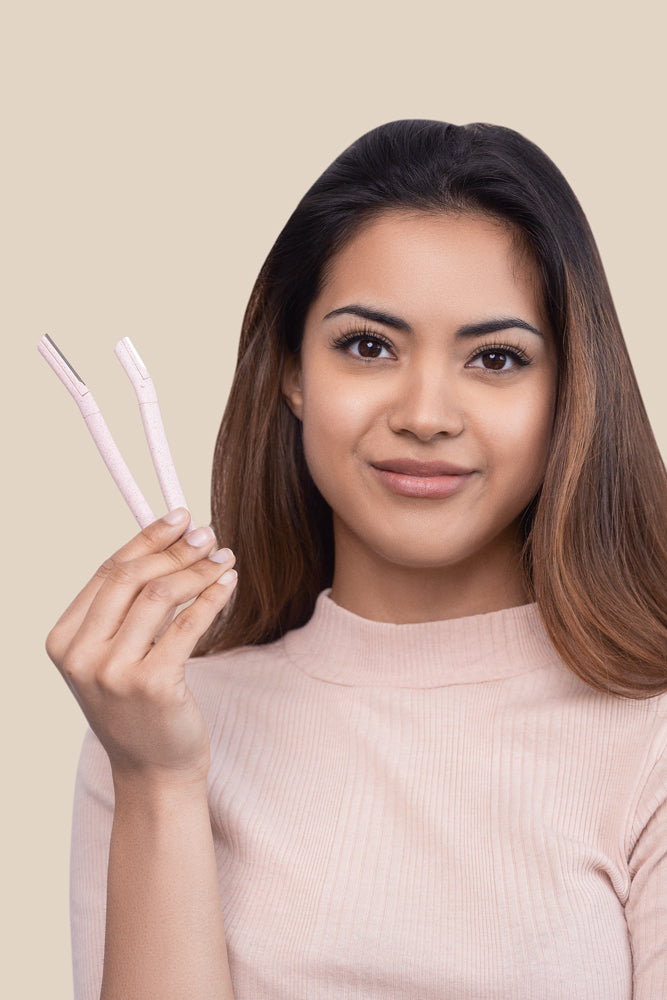
Choose the right tools: To perform at-home dermaplaning, you will need a surgical scalpel, mirror and a nourishing/ hydrating product to aply on the skin following the treatment. It is important to choose a surgical scalpel that is specifically designed for dermaplaning, as this will help to ensure safety and effectiveness. Wing It Cosmetics Take It Off dermaplaning starter kit has the right tools for dermaplaning at home including two blades in different sizes to suit all the areas on the face and a 100% Squalane Oil to nourish and hydrate your complexion following the treatment.
-
Hold the scalpel at a 45-degree angle: Hold the scalpel at a 45-degree angle and use short, gentle strokes to scrape away the top layer of dead skin cells and fine facial hair. Be sure to avoid applying too much pressure, as this can cause skin irritation or cuts.
-
Work in sections: Work in small sections of the face, starting with the cheeks and moving on to the forehead, nose, and chin. Be sure to avoid areas of the face with active acne, as this can cause further irritation and inflammation.
-
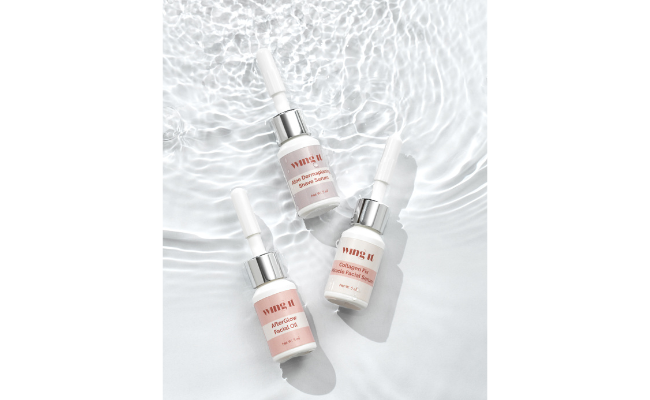
Finish with a gentle cleanser and nourishing face oil: After completing the treatment, finish with a gentle cleanser and nourishing face oil to soothe and hydrate the skin.

What to Expect During and After At-Home Dermaplaning
During at-home dermaplaning, you may experience some mild discomfort or sensitivity, especially if it is your first time performing the treatment. However, if you follow the correct techniques and use the right tools, the treatment should be relatively painless.
After the procedure, the skin may appear slightly red and sensitive, but this typically subsides within a few hours. It is important to avoid direct sunlight for at least 24 hours after the treatment and to apply a broad-spectrum sunscreen with an SPF of 30 or higher.
To maintain the results of your at-home dermaplaning treatment, it is important to follow a consistent skincare routine that includes regular exfoliation and moisturisation.


Leave a comment
This site is protected by hCaptcha and the hCaptcha Privacy Policy and Terms of Service apply.